One of the Units:

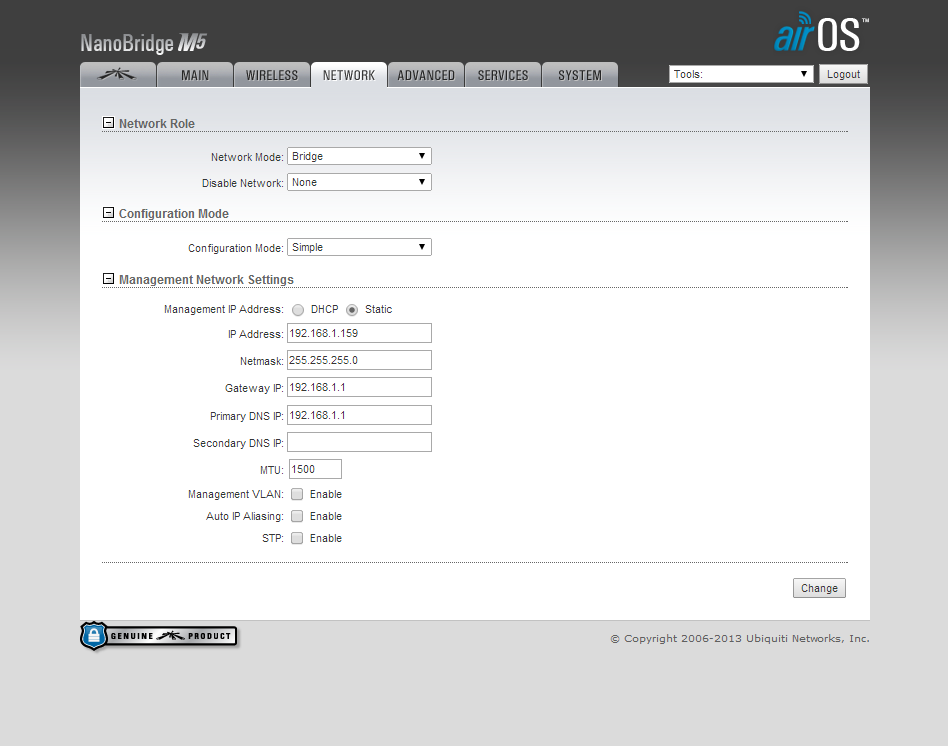
To set up our bridges, we used, in addition to the units, 4 Ethernet cables, 2 switched and two not. The switched cable is run from the computers Ethernet port to the LAN port on the POE injector for the bridge. To access the setting for the bridges, we followed the directions listed in the instruction book that came with the bridges. The only problematic step was setting the static IP address of the computers Ethernet port. On PC, this can be done by going to the network and sharing center, click on the "change adapter settings" options, select the Ethernet adapter, open its properties, double click on Internet Protocol Version 4, and select a manual IP address. Set this to something in the domain of 192.168.1.x, where x is between 1 and 100 (to keep it simple). These settings can be found in wireless settings on Mac.
To set up the point to point link between the two devices, once you have gotten into the settings for the wireless bridge, follow the instructions in this video. The hardware is slightly different but the steps are almost the same.
https://www.youtube.com/watch?v=__xzHnK6IVs
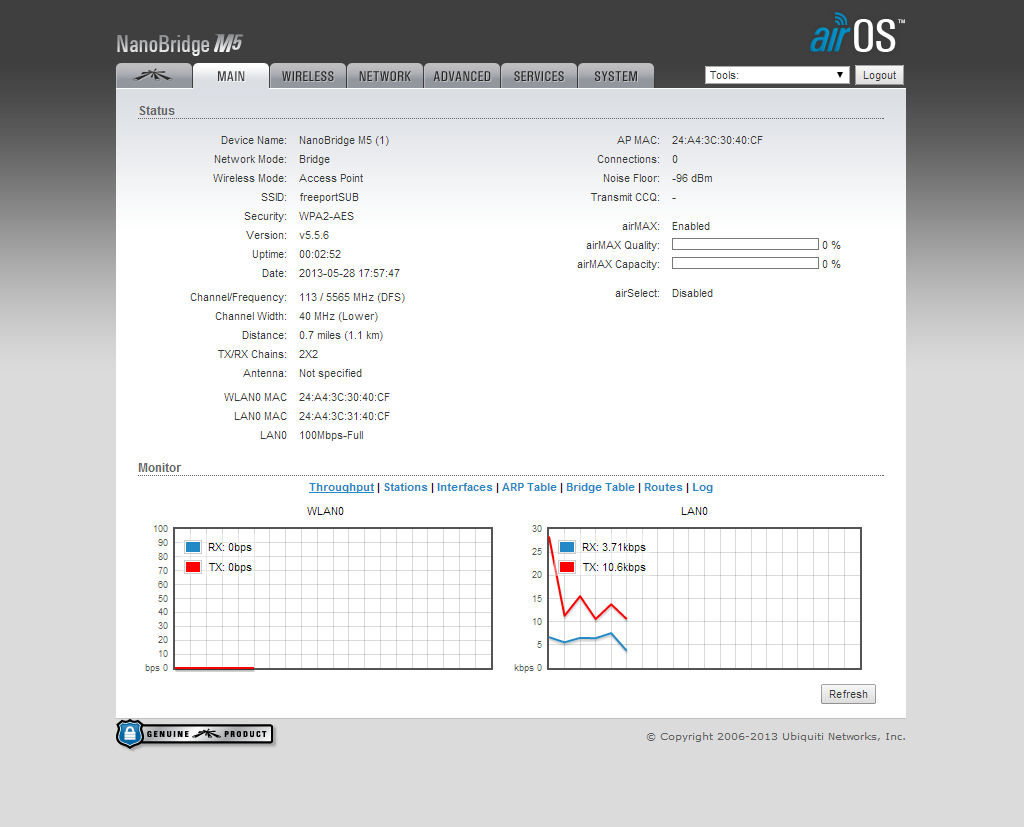
When you are done, your settings should look something like these:
Access Point:


Station:


If the two units show red status lights, then they are connected and the link is complete. Packets can be sent to the IP address of the opposite computers Ethernet port via the console command ping 192.168.1.x This should return data.
Our next post will show how we used this network connection to create a private network in order to communicate with the electronics on the submersible.
No comments:
Post a Comment