Choosing the Container:
Before we could test our motors and props we had to create a way to allow us to submerge both of them underwater. Although some of our motors are waterproof (
Johnson) not all of them are. By creating waterproof capsules we have a constant size to deal with and therefore constant data that does not rely on the volume or surface area of the motor.
The creation of these capsules was a long and arduous process. Not only did it take us a while to choose what container to use, but many of our attempts did not even work. Before going into this we knew that we wanted to create a container that could be used for multiple motors and therefore had to have a removable top that was watertight. We also knew that we wanted a PVC running into the top of the container so that our power source could be above the water. Finally, we knew to create a watertight seal we needed to attach a sheet of plexiglass with a seal to the end of the capsule where the shaft would protrude.
The first container we tried to use was a
®Tupperware container. We thought that using a pre-made container would allow us to make a few small changes and have a working watertight container that also has an easily accessible inside. After attaching a PVC pipe and plexiglass sheet to our container we realized that it wouldn't work. To our dismay this container was neither big enough nor strong enough to stay watertight with a motor inside. In fact, trying to attach the plexiglass caused the container to break.
 |
| Failed ®Tupperware container (w/ broken side) |
Our second idea was to use a few sections of larger PVC. We would attach them by press fit and then silicone where they attach. This would give us a stronger container, and one that was still watertight. For the removable "top" of the container we thought that using a latch and rubber seal to make it watertight. This option would have worked, but it was expensive and did not allow us to view our motor while it was inside of the container.
After much trouble we were able to finally find a package of acrylic containers from
Bed, Bath, and Beyond. They are cylindrical containers that are just the right size for our motors. They have a latched and sealed top, viewable insides, and are made of strong plastic, all are reasons to use these acrylic containers.
Building the Container:
Building the container took a lot longer than expected. Like in any project, we had to go through multiple designs to ensure that the final product worked properly.
The first step was to reinforce the bottom, or the "working" end, of the container. To do this we cut out a piece of plexiglass and screwed it on after pre-drilling both pieces. We were careful to not drill all the way through the plexiglass, avoiding extra holes in the container. We also siliconed the area between the plexiglass and container before screwing them together. A picture of this is below. We then drilled a hole in the new top of our container (old side) which is where the PVC with electrical cords will go. We reinforced that with wood and silicone. Pictures of this are below.
 |
| Plexiglass Seal in "working end" |
 |
| PVC Seal |
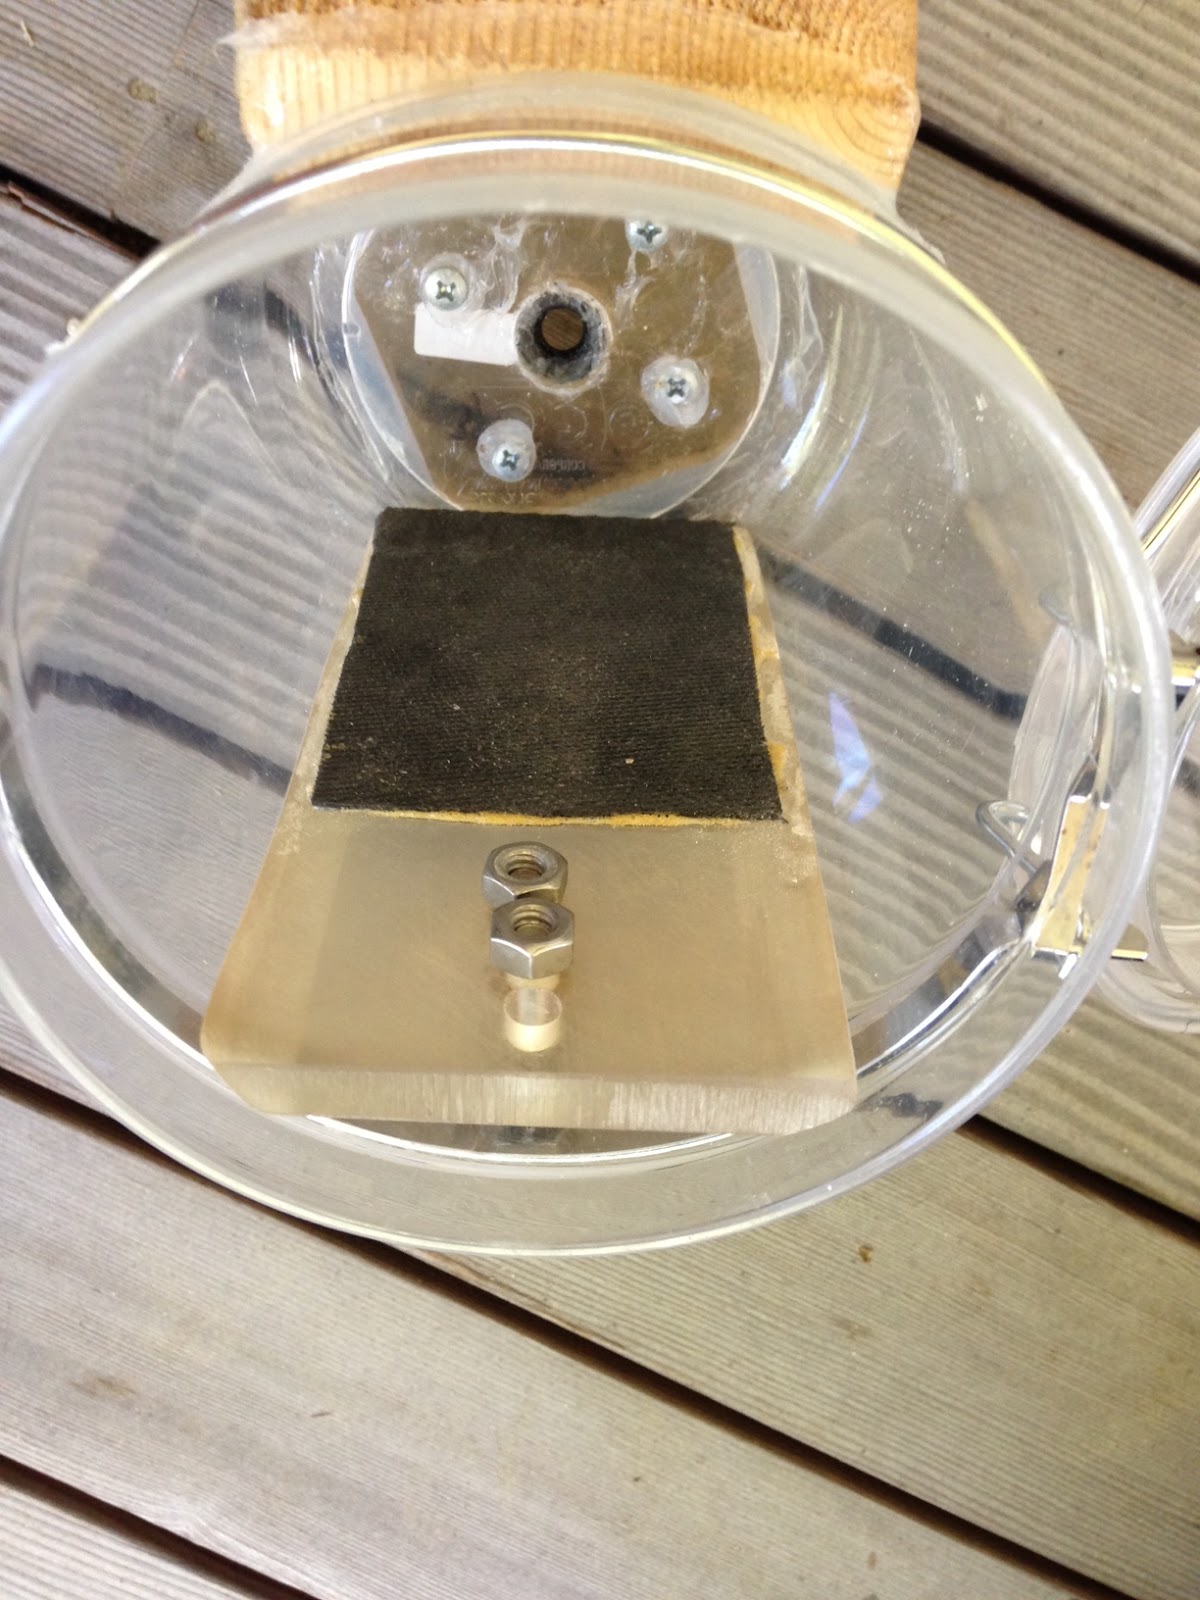
After finishing the containers our next challenge was to create a way to fasten our motors inside of them. We knew that we needed some sort platform and decided on making a removable plexiglass shelf that slides into the acrylic containers. After creating the shelf we added half of a mousepad for increased friction (and therefore reduced movement inside the container) and two belts created from fabric and D-rings which we sewed together. Finally we attached the shelf to our container by fastening them with bolts and more watertight seals. A picture of this shelf is below:
 |
| Plexiglass bolted down |
 |
| Plexiglass w/ shelf |
 |
| Shelf with straps |


No comments:
Post a Comment